Friday, July 14, 2006

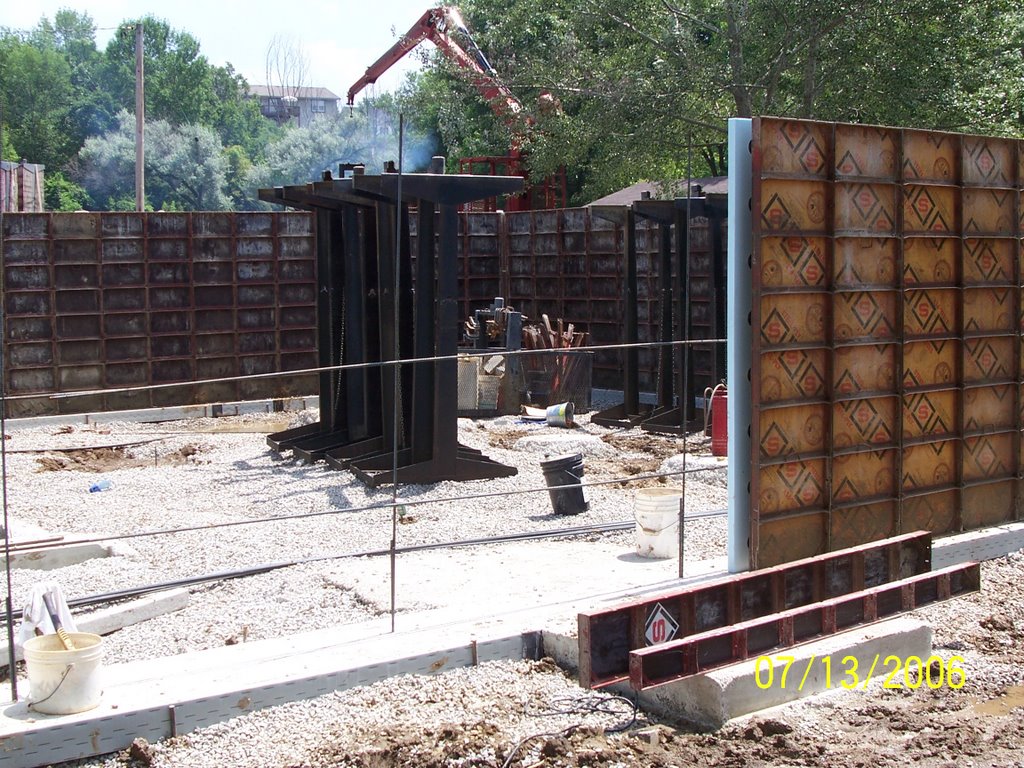
Pouring the T-mass walls


Here we go - Putzmeister Telebelt in place at about 6am

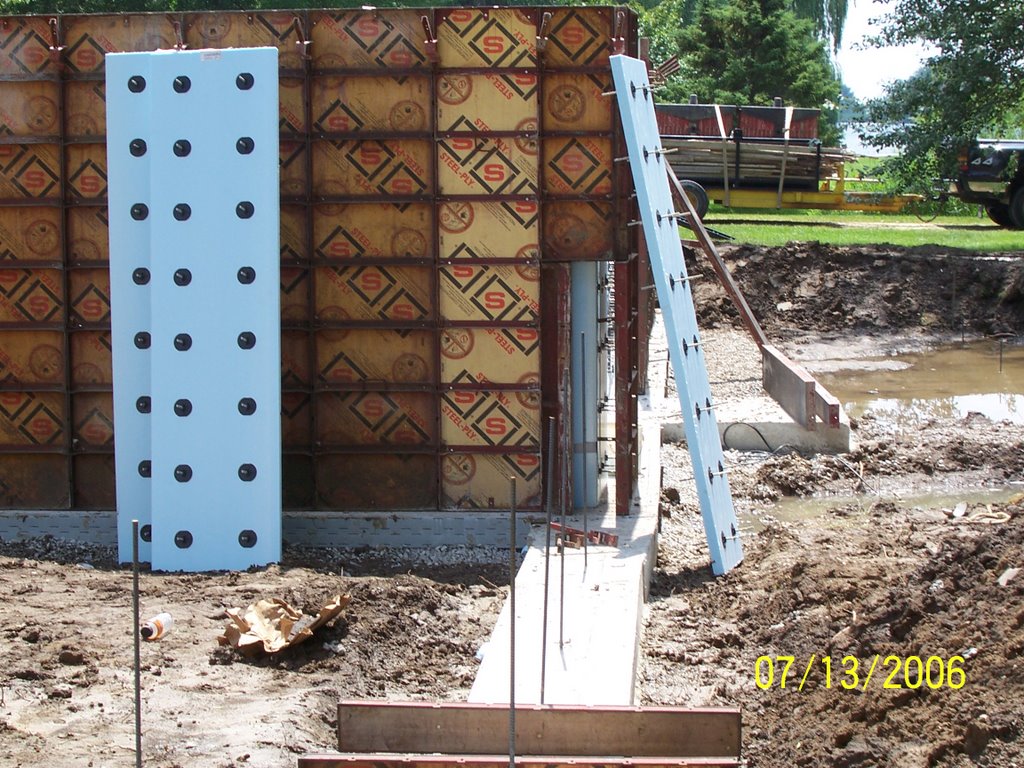
Last wall forming post


On this picture you can see where the garage wall will run from the corner. If you look back at older posts you will see the floor plans and how the garage depth is the same as the house. The difference in height is necessary because the basement stairs and inside stairs "nest" one over the other. Also, the landing on the stairs from the 1st floor to the 2nd will be at the right level for the bonus room over the garage.

Form Setting Continued


Forming the walls with T-mass


Per the spec sheet for this pour, it started with 2 runs of #4 in the footing. Not that different from a normal footing in this area. They then inserted dowels (short pieces of #4 rebar set vertically) in the footings 72"on center. Those had 8' lengths of #4 re-bar tied to them. There were two horizontal runs of #4 and then another vertical run between the verticals tied to the dowels.

In other words:
two runs of #4 in the footing
vertical #4 32"oc
a low and a mid horizontal run of #4.

The T-mass panels were pre-cut per the form layout submitted by the mason. Those panels had the fiberglass standoffs inserted and locked into place on site - it went very quickly. The corners were precut, too. Those got folded and taped and placed so they didn't spread apart during the pour.

They started by placing some inside forms. Then the T-mass panels were placed and followed by the outside forms. The mason's commented that the standoffs (sometimes) pretty much put the outer wall right on the money for the ties to be locked in. Other times it seemed like the outer form needed a bit of extra persuasion to get the tie wedges in place. All in all it did not seem to slow them down at all.

Wednesday, July 12, 2006

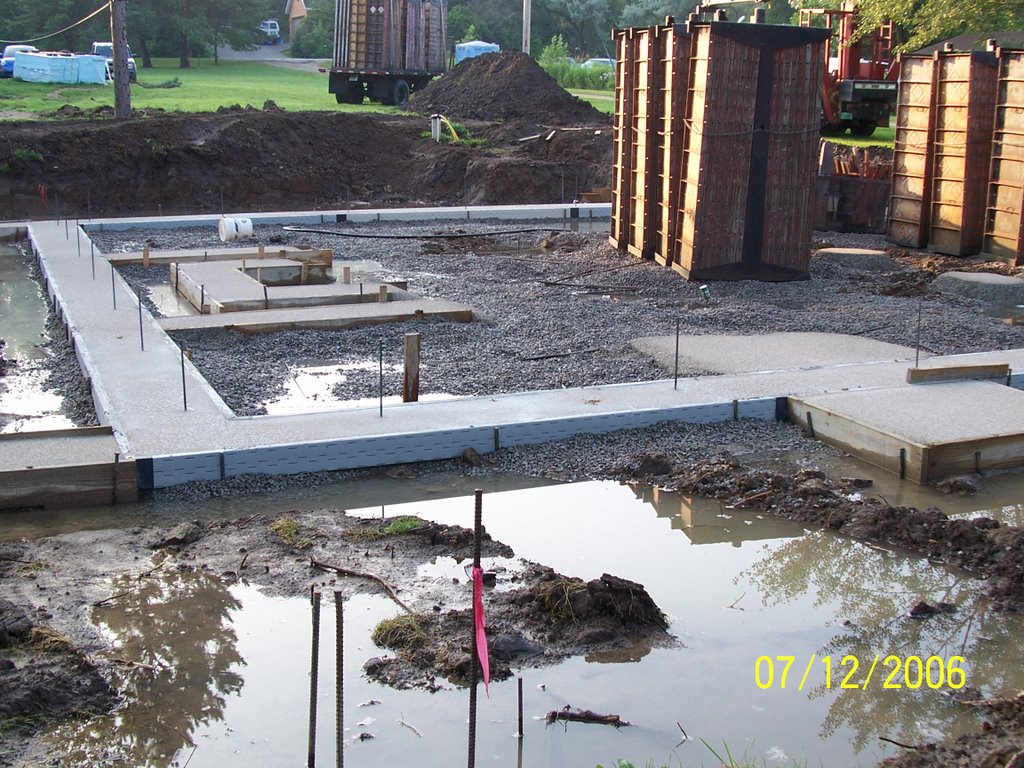
Footings


Ok, granted, footings are not a thrilling step of the building process. However, I do want to create posts for most of the steps, so here it is.

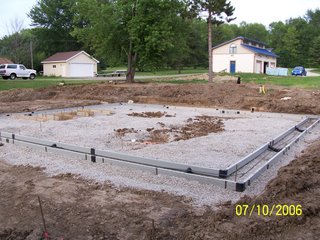
I checked opposite corners with the 3-4-5 method and I pulled diagonals. Not taking into account any stretch on the tape, the footings are within 1/4" or less of "square". We are using the "Form-A-Drain" system in place of the traditional drain-tile set up.(http://foundations.certainteed.com/)

As mentioned in previous posts, this design aims at being "efficient" in many practical ways. By "efficient" we not only meant with regards to energy, but also with regards to construction methods. For example, you can see in these pics that the foundation does not have an excessive amount of corners. The challenge was not only to limit the corners, but to do so without making the design un-exciting. I will touch on points like this again as they come up.

The masons are setting the wall forms on Thursday and we hope to pour the walls on Friday.

Thursday, July 06, 2006

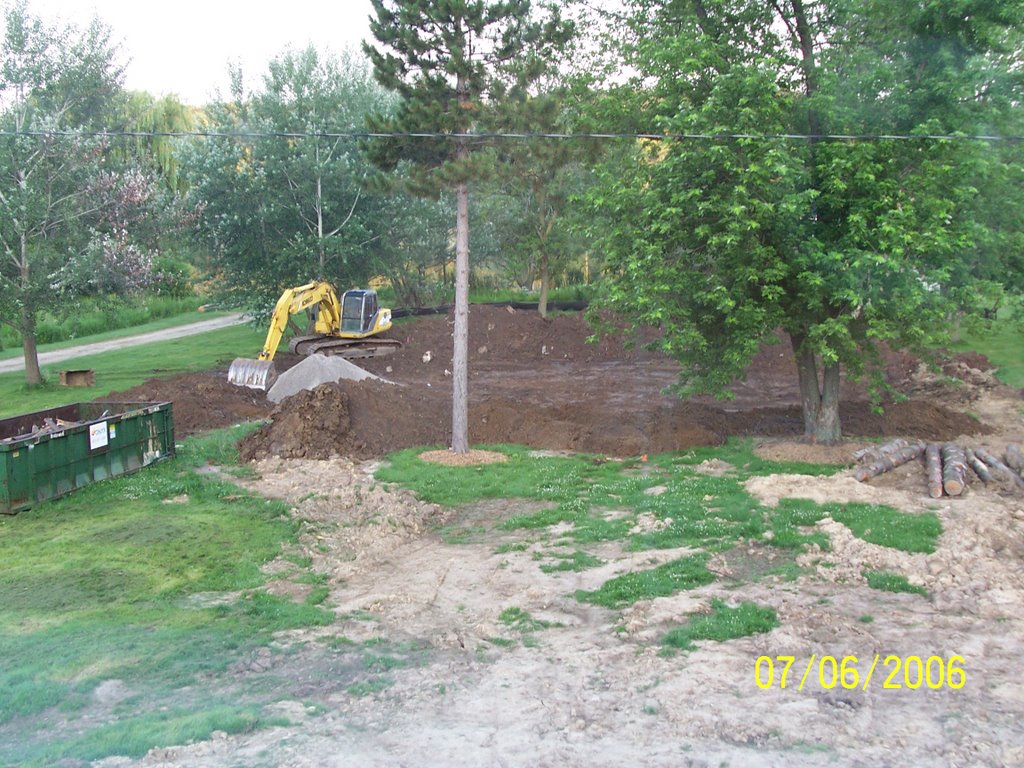
Holes!


From this point on we start bringing things to the site, rather than taking stuff away.

Thursday, June 29, 2006

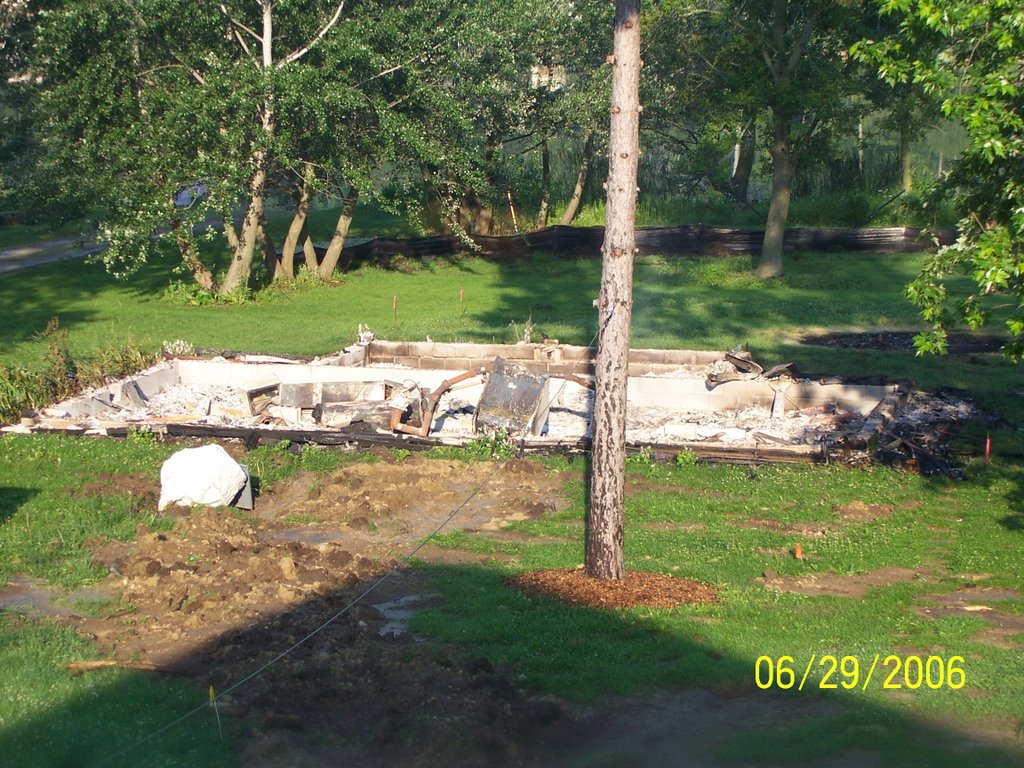
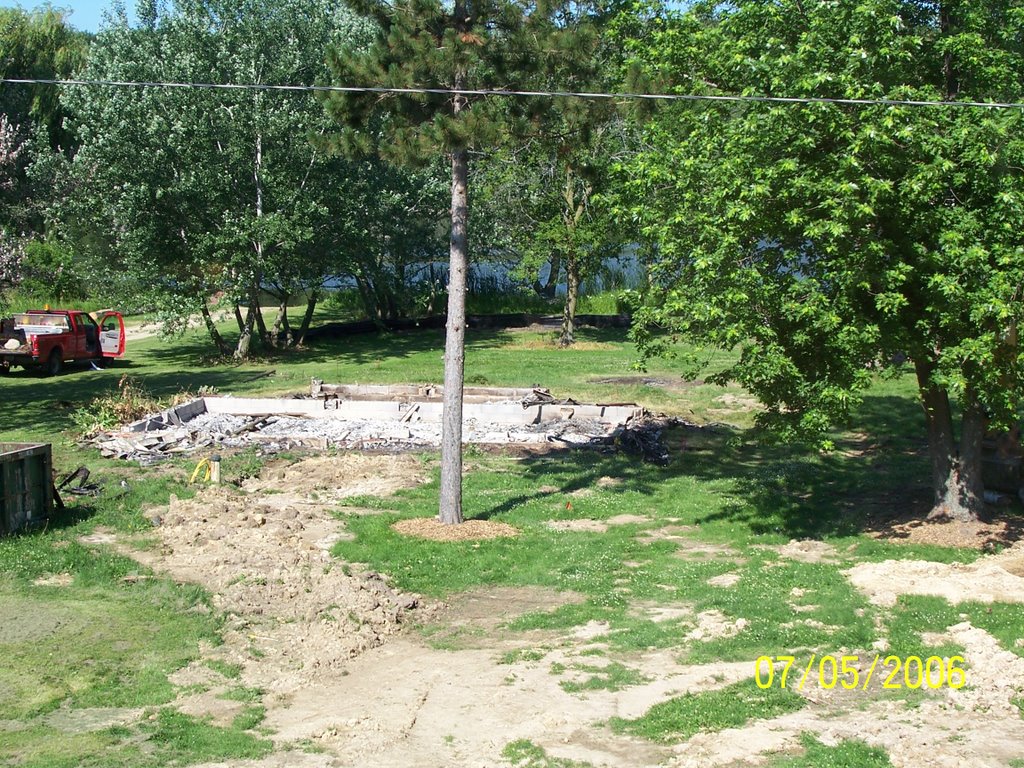
Not Much Left


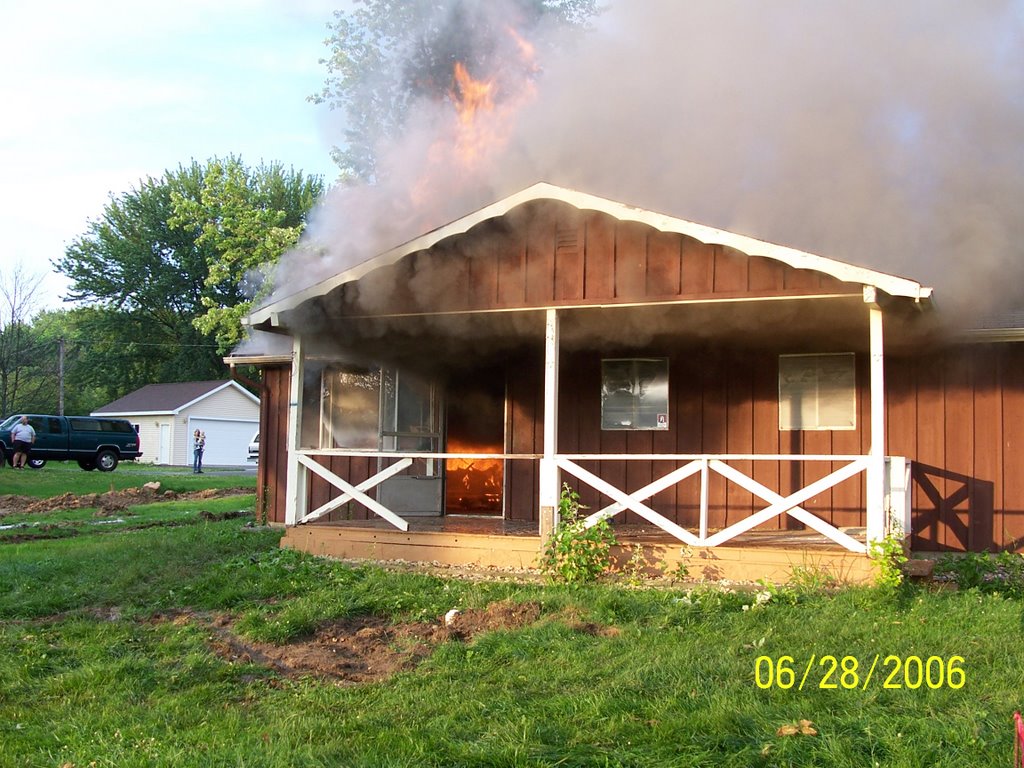
Wood Siding, Wood Paneling, No Steel Beams. . . .
The last picture is from the following morning - nothing but a pile of truss mending plates, the odd applieance, and the cast iron stack.

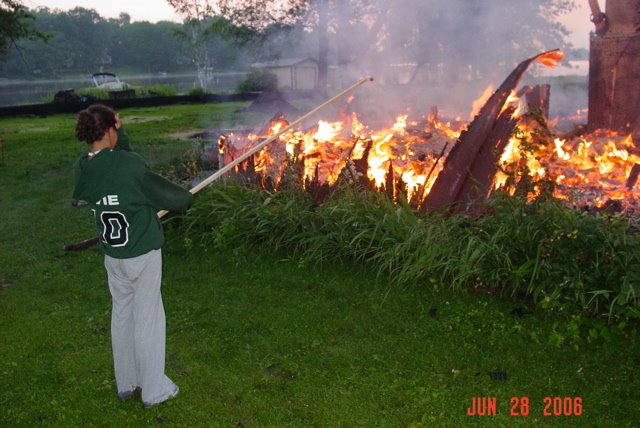
Extra Long Marshmallow Toasting Sticks Required

VFD: "We haven't lost a basement or crawlspace in 50 years"


My guess is that's an OLD firshouse joke - still, made me chuckle.

More Burning Pics


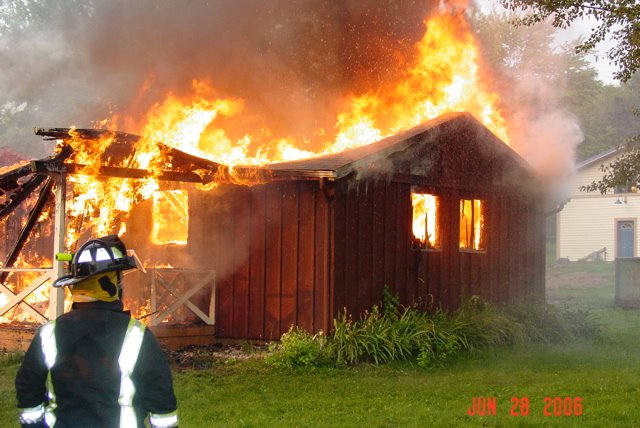
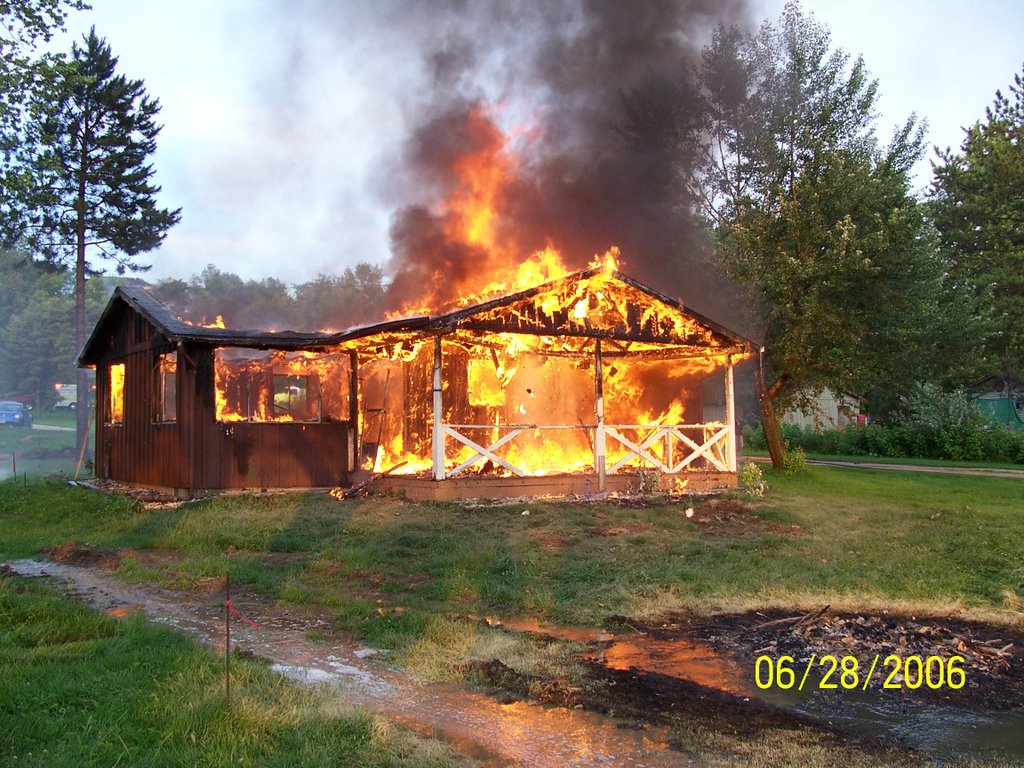
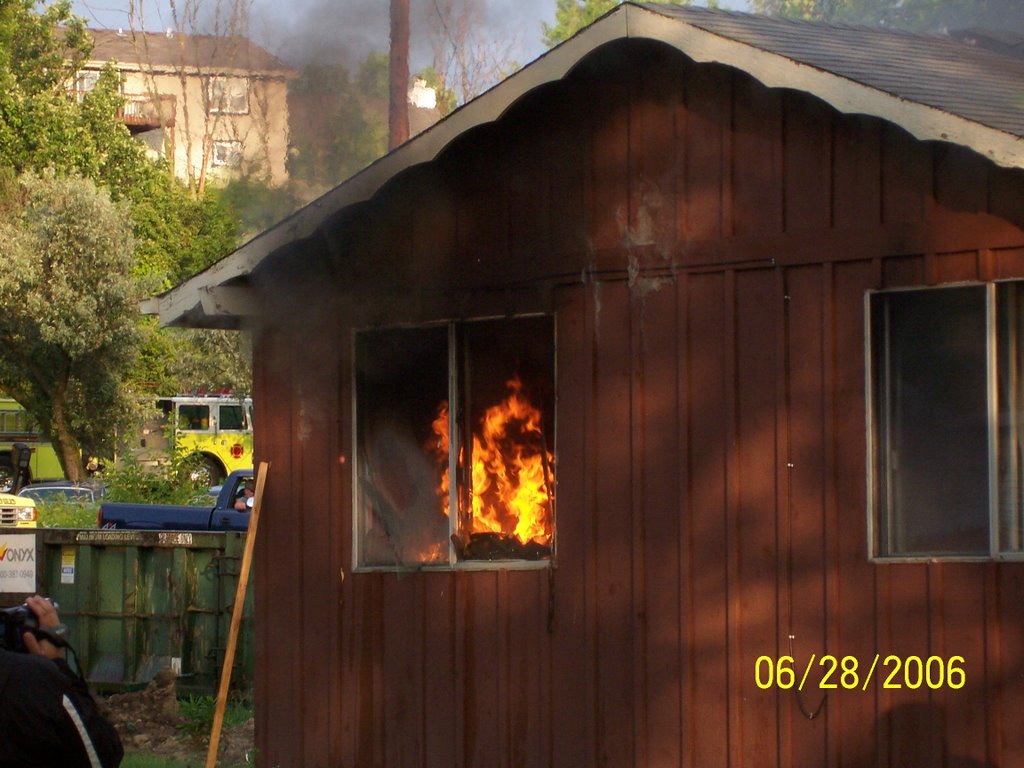
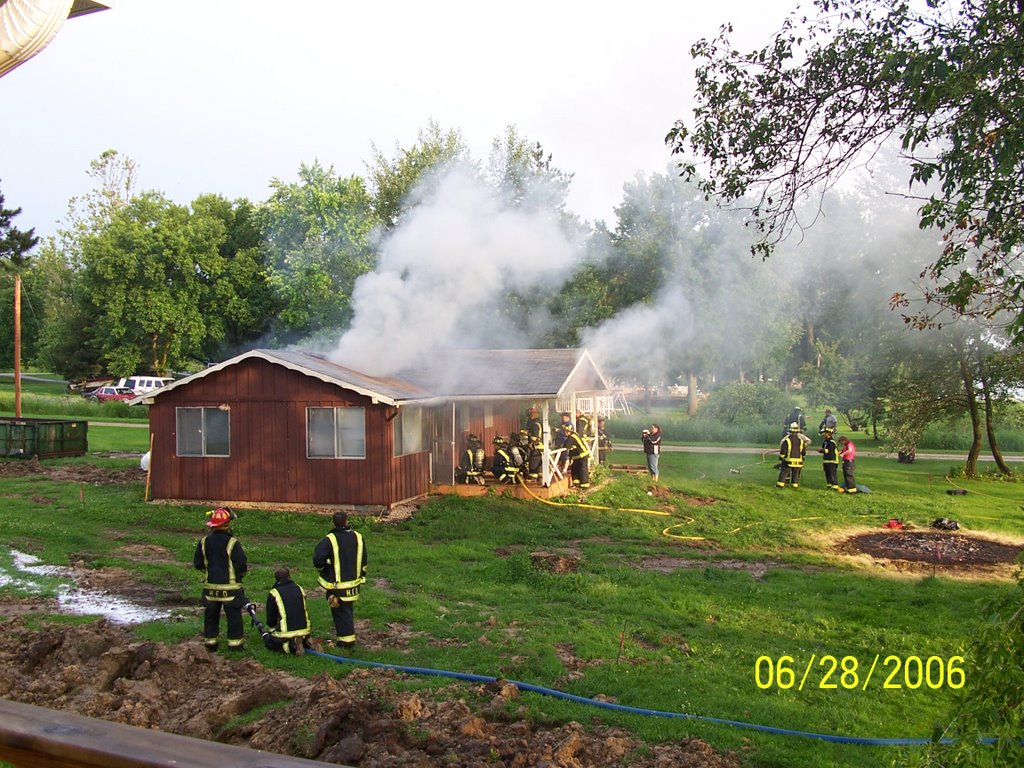
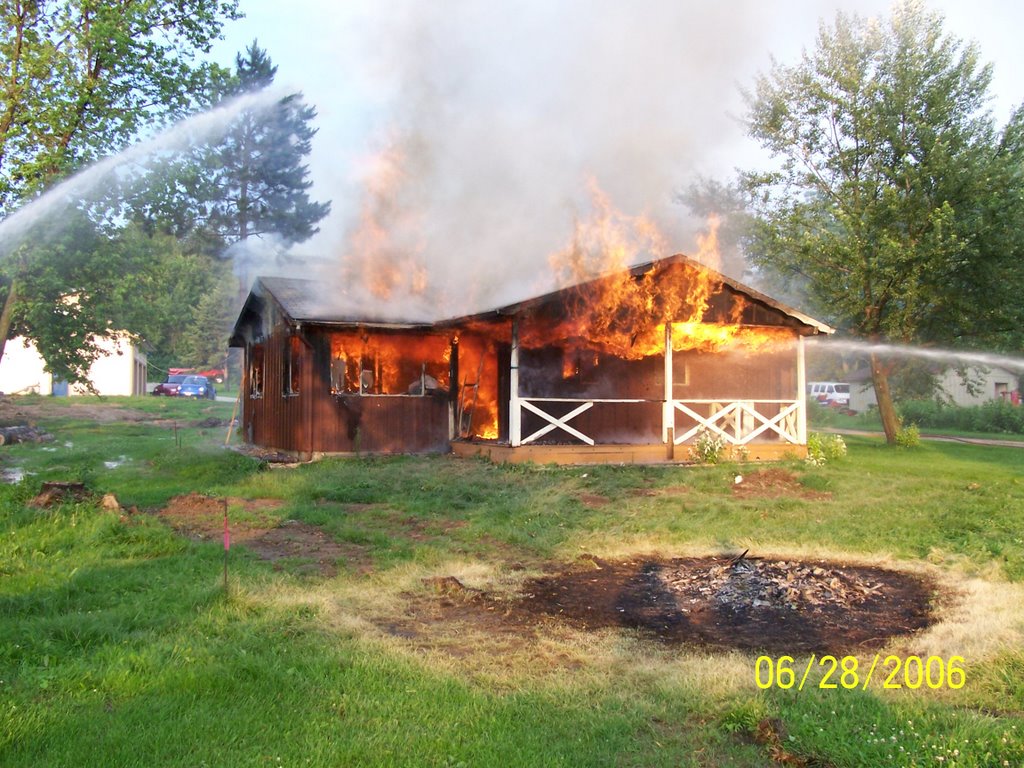
Burnin' Down the House


Things went very smoothly for the burn. The neighbor bought some food to grill out and we made a party of it. The VFD started out doing some clearing and evacuation exercises using a smoke machine. After that, they started and nearly extinguished a fire inside 3 or 4 times for more training.

Sunday, June 18, 2006

Burn Baby Burn!

June 28th, 6:30pm. The old cottage will give itself up to the Volunteer Fire Department. I want to say we hate to see it go - but we really don't. . .

Check back after that date for more pics.

If the weather holds, we'll have footing poured the week after the 4th of July.

Last three Loft interior shots


These pics are to show the view from the sleeping area looking West and from the living room area looking East.

To clarify, there are two posts. Basically, I am near one at each picture, just facing a different direction.

In the picture on the right, you an sort of see the wall that holds the pocket door to get into the bathroom.

Garage Loft Interior Pics


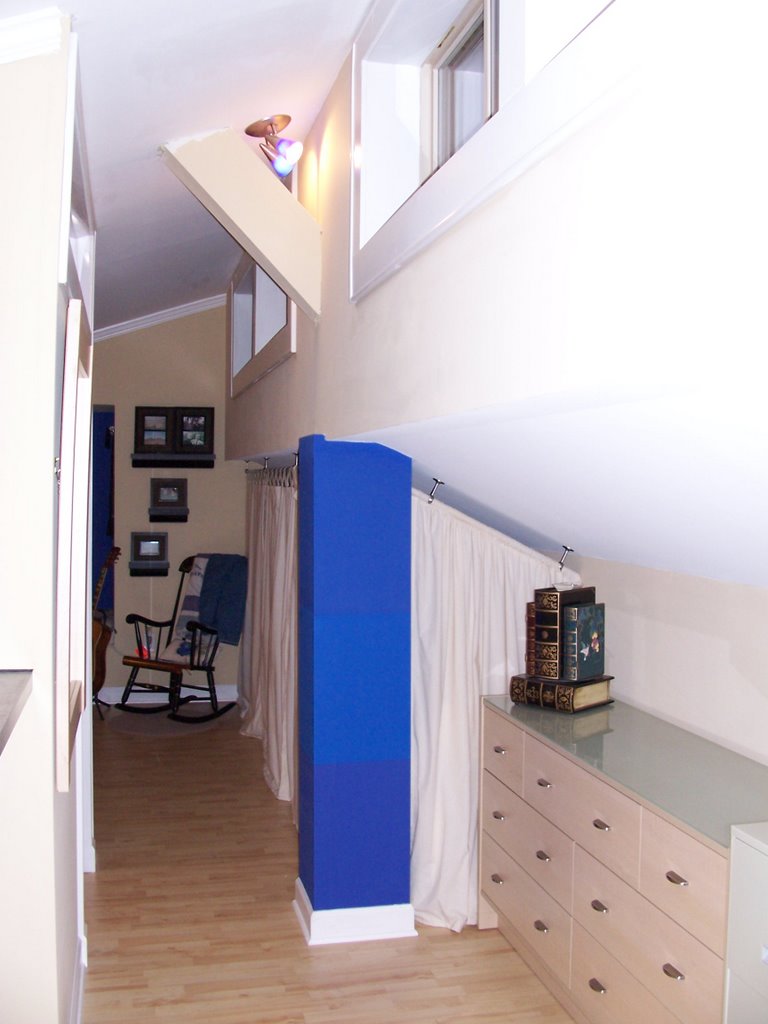
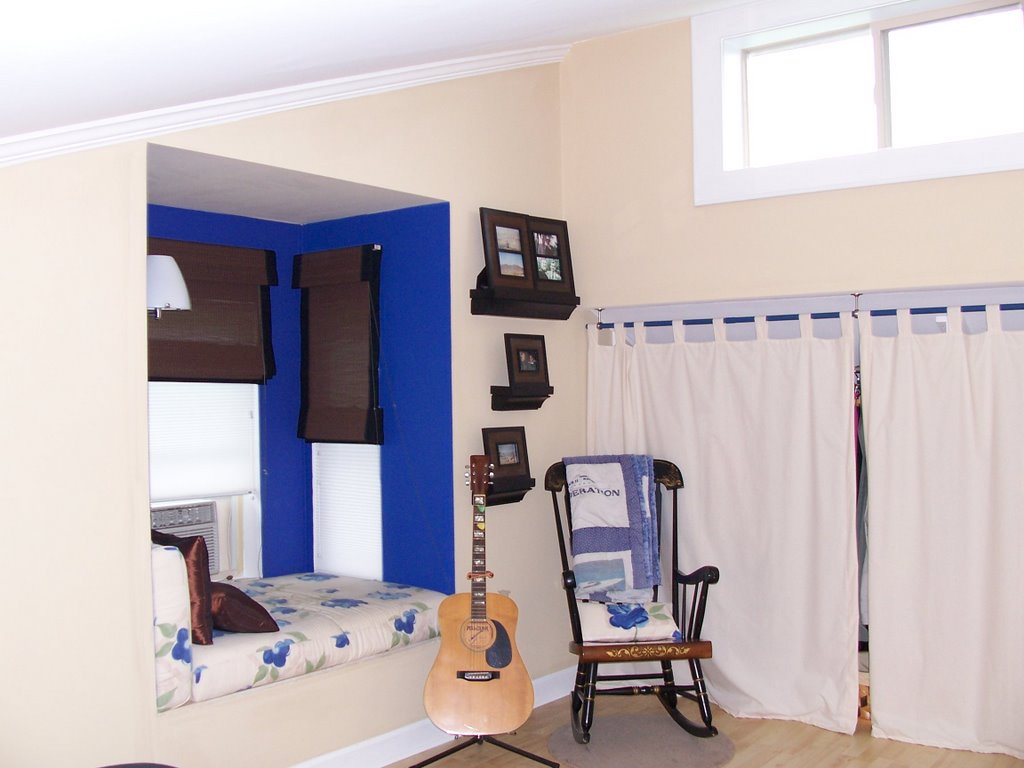
And, finally, here are some pics of the bedroom/sleeping area and reading nook.

Garage Loft Interior Pics Continued


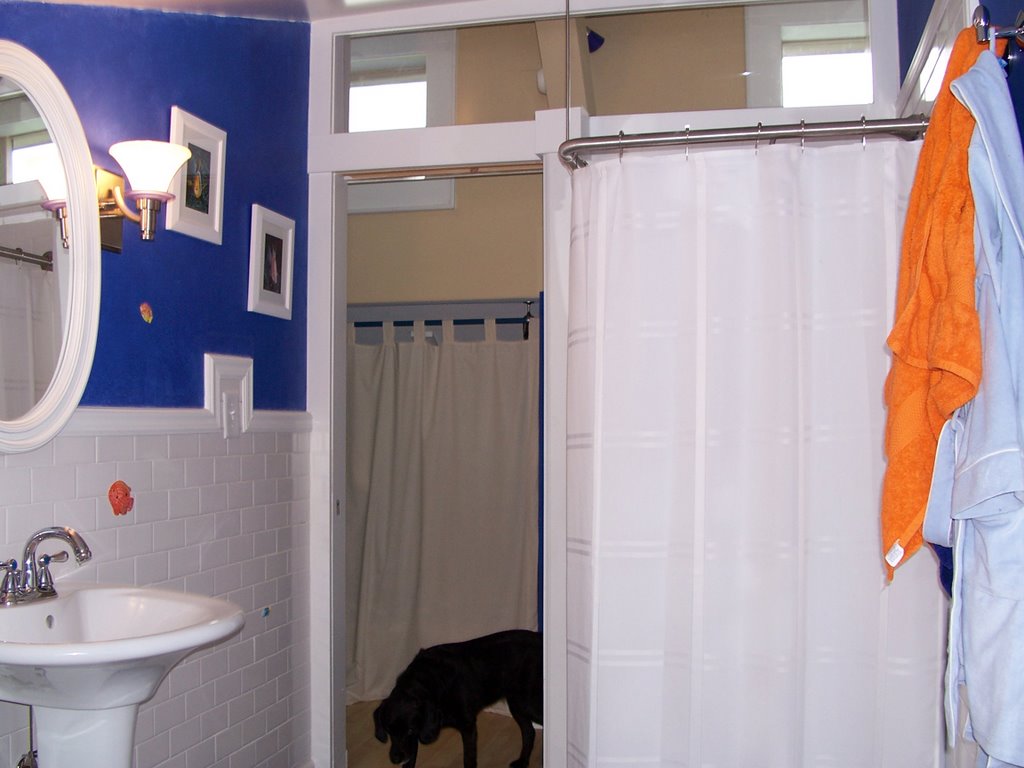
We went a bit overboard with the bathroom, but we are happy with how it turned out. In some respects, I've asked Jennifer to live without a bathtub for over 5 years now. Maybe I am just trying to make up for that.

More Garage Loft Interior Pics


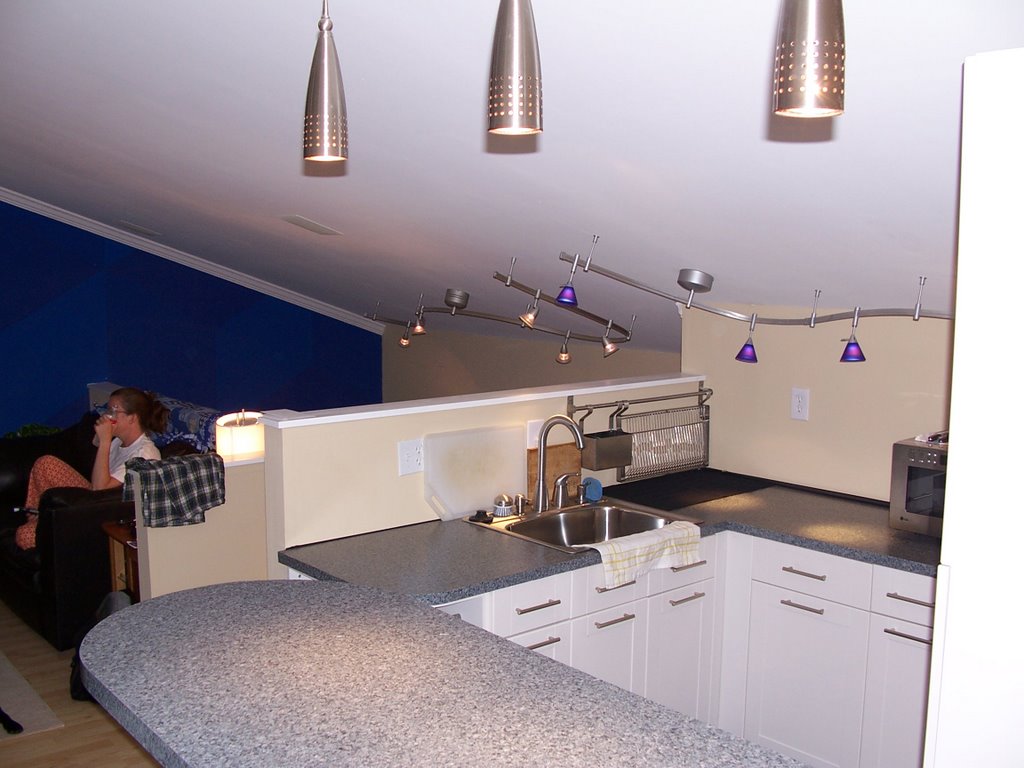
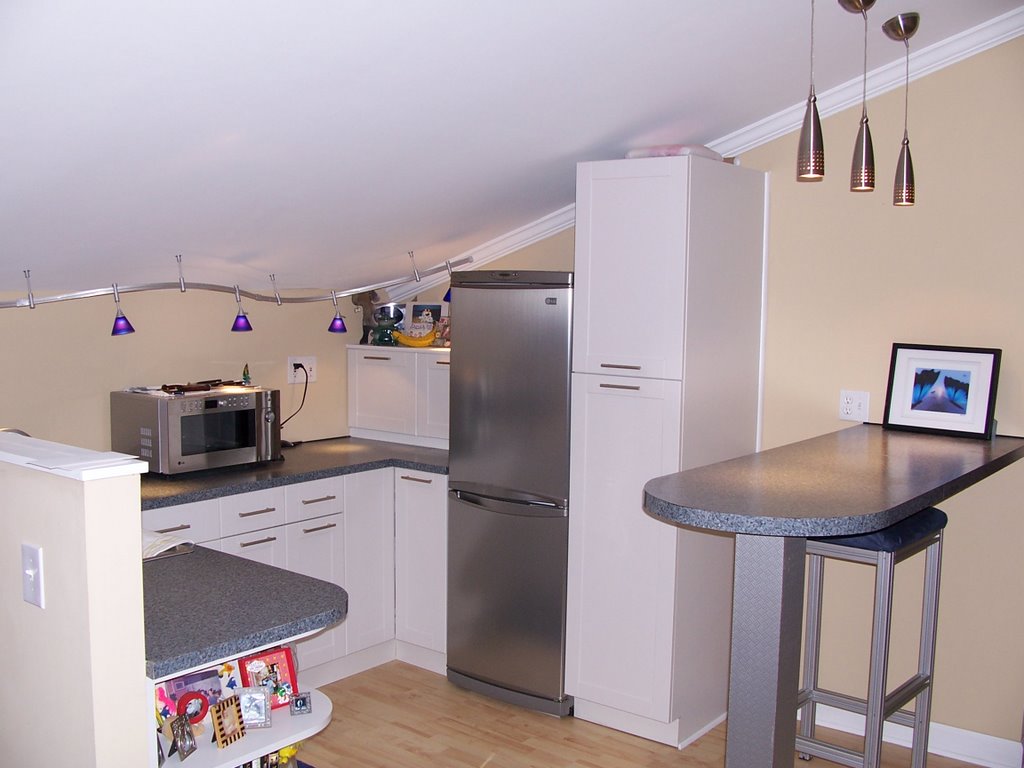
Here are some pictures of our "non-cooking area" .

As part of our variance/agreement with the town, a guesthouse has been defined as not containing permanent cooking facilities. At one point, we had planned on having a 24" range, but we are doing OK with out one.

More Loft Interior Pics


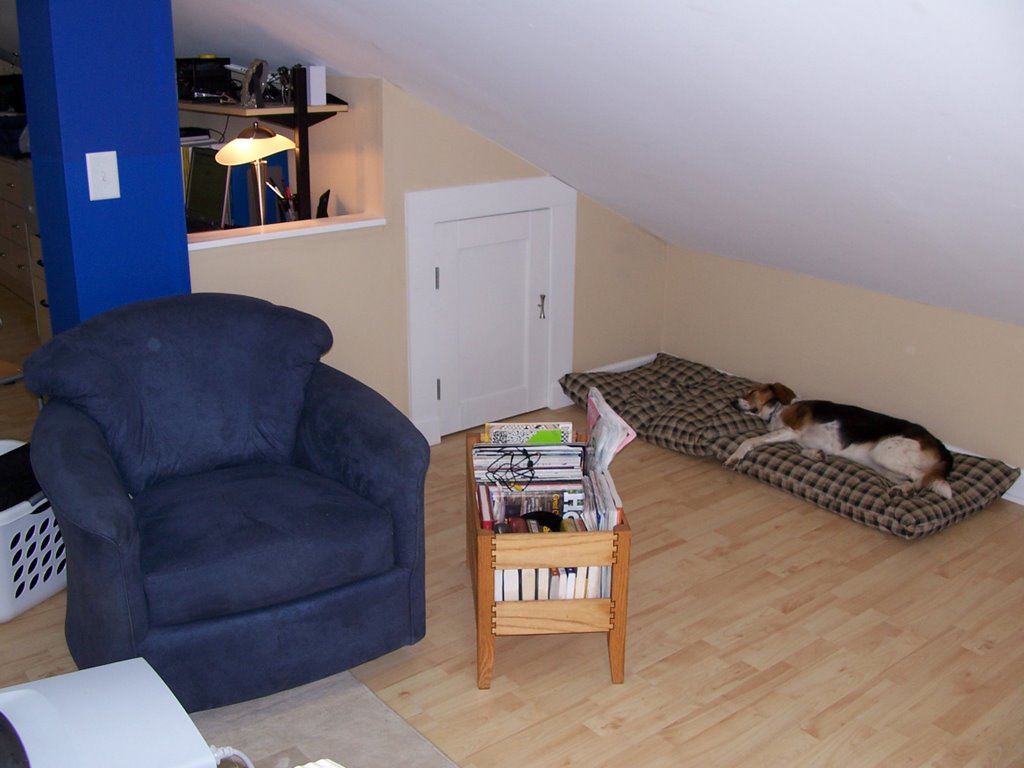
The dogs seem to be settling in well. . . .

This image was taken with the arch top window behind me.

More Garage Loft Interior Shots


Here is the other half of the living room area.

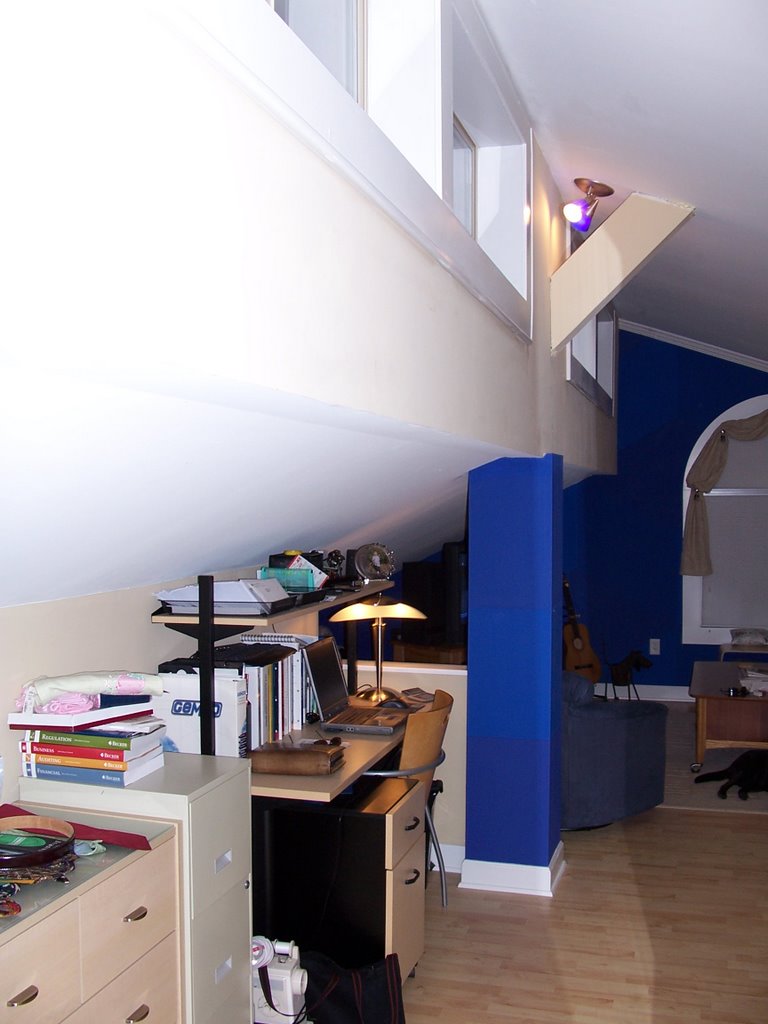
To give you an idea of scale, the height from the floor to the celing peak is about 10'. To the bottom of the beam below the clerestory windows is 5' 8".

Garage Loft Interior Shots


Well, the sewer and water has been connected to the garage and we've moved into the loft. For the next few posts, I will post some pics of the loft interior.

We are very happy with how it turned out and have now been living in here for just over a week.

Here you can see the "living room" area. If you scroll back down to the exterior picture of the garage, you will see the arch top window from the outside.

The wall behind and next to the loveseat is over the stairwell that leads up from below.

To our future "guests", we hope you will approve of your private accomodations. . . .

Friday, May 19, 2006

Game ON!

Variance was approved last night. Time to get rolling.

Check back in 2 weeks and I hope you will see pictures of progress.