Sunday, November 26, 2006

Master Suite (or, for the PC, "Owner's Suite")

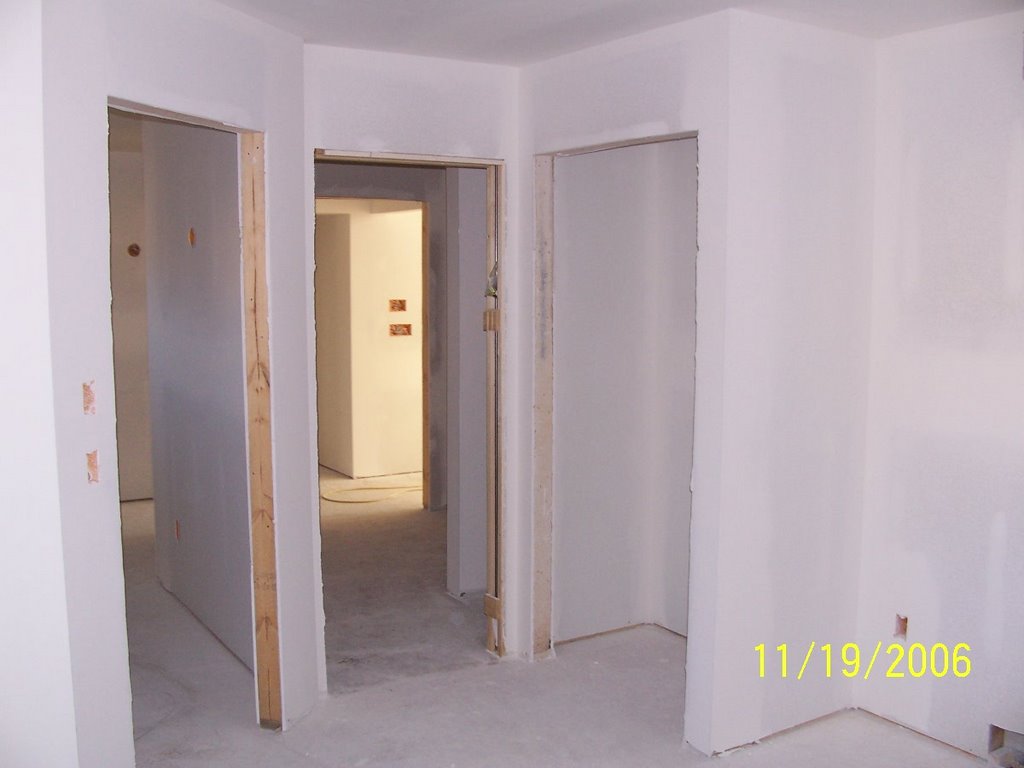
Coming through the foyer "airlock" door, there are three directions to go.
Straight leads into the GreatRoom
Right leads into the Powder Room
Left leads to the Master Suite.
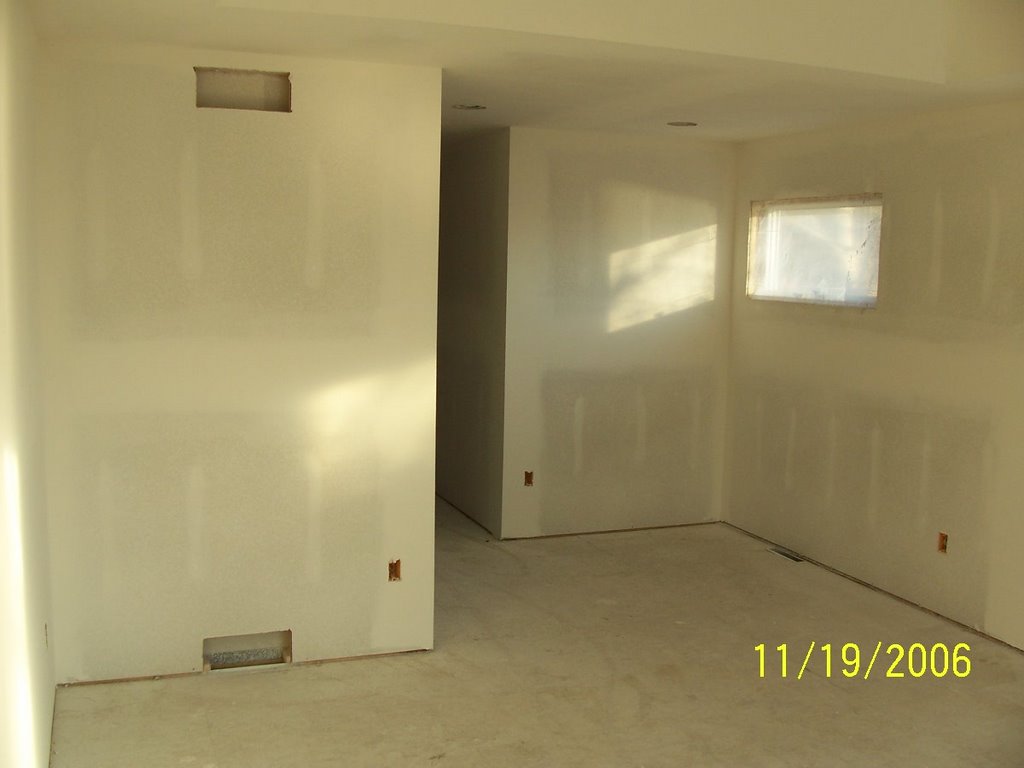
This image is looking from just inside the Powder Room door into the Master Suite. The door straight ahead is into one of the closets, the door to the left is into the bathroom.


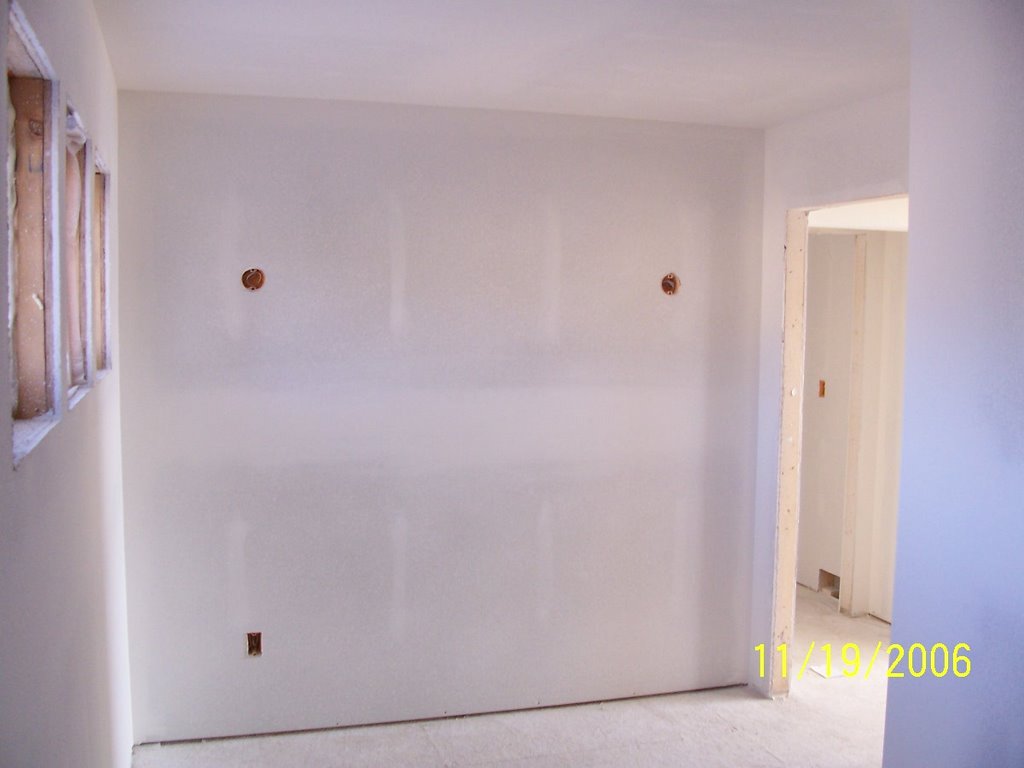
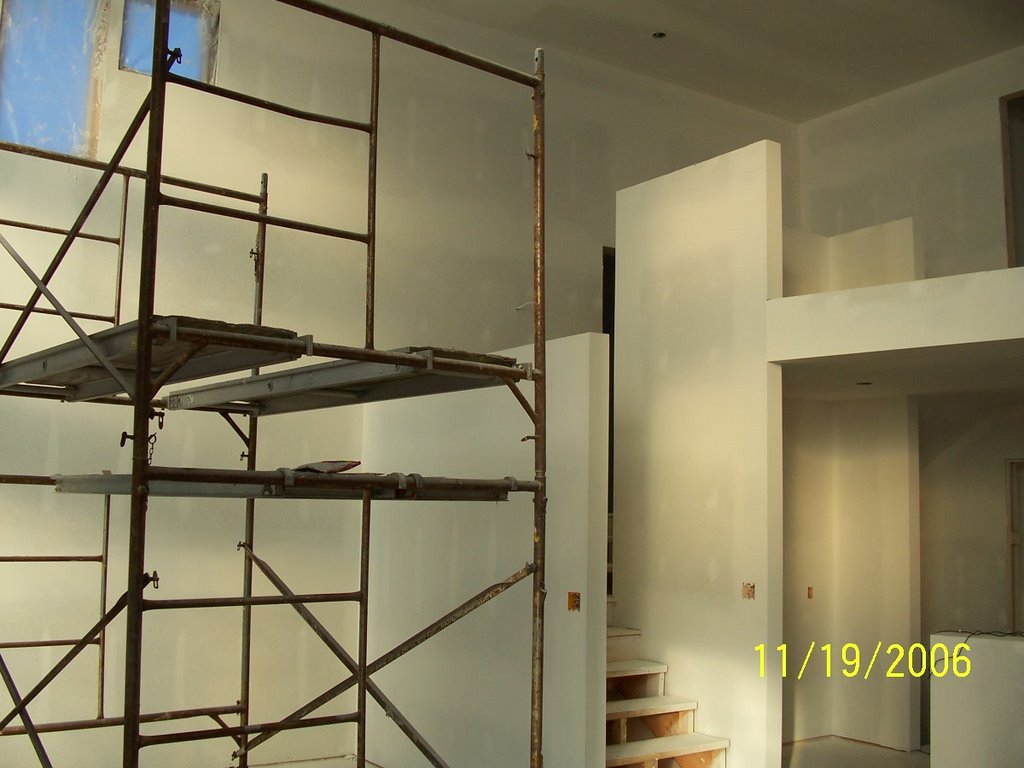
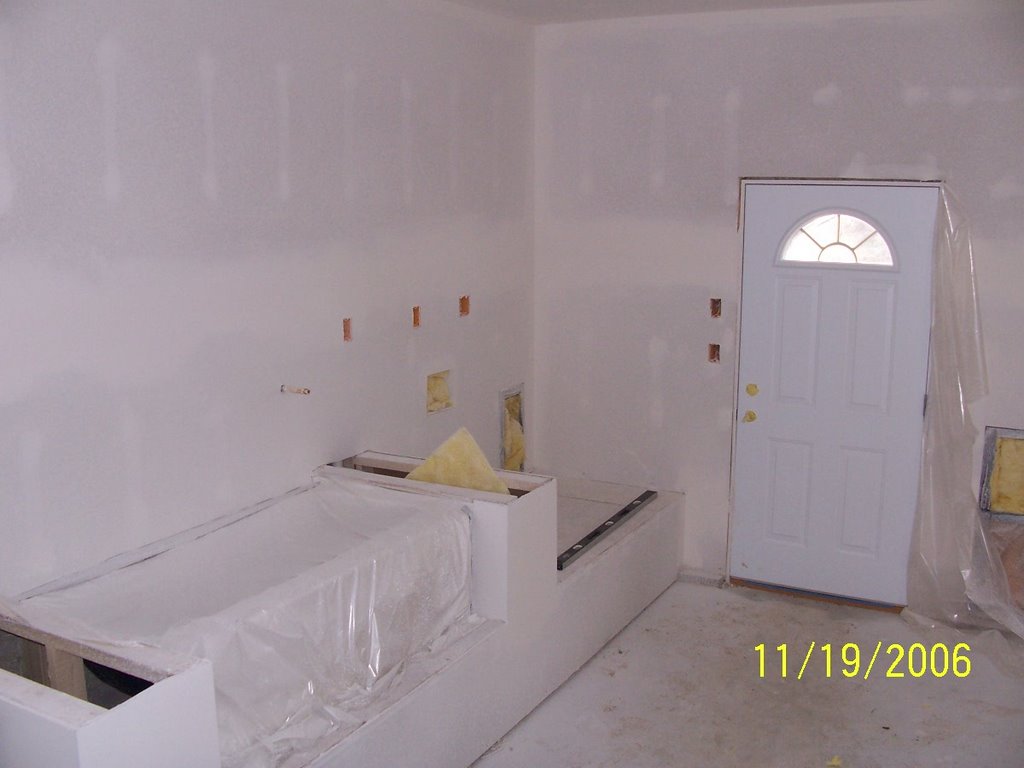
This is the view into the master bath. It is hard to capture details on this room at this point, but we'll post new pics when the fixtures are all in place. On both sides just inside the door will be the two vanities. We wanted to enclose the toilet in its own little room, but I didn't think we had the space to do that.


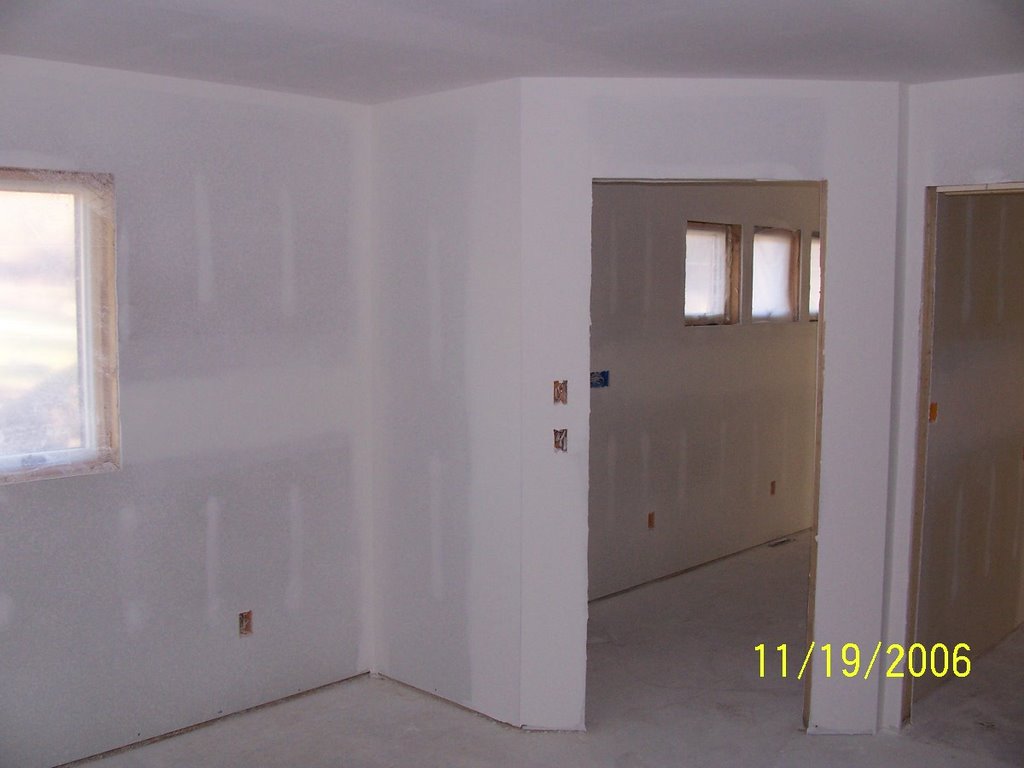
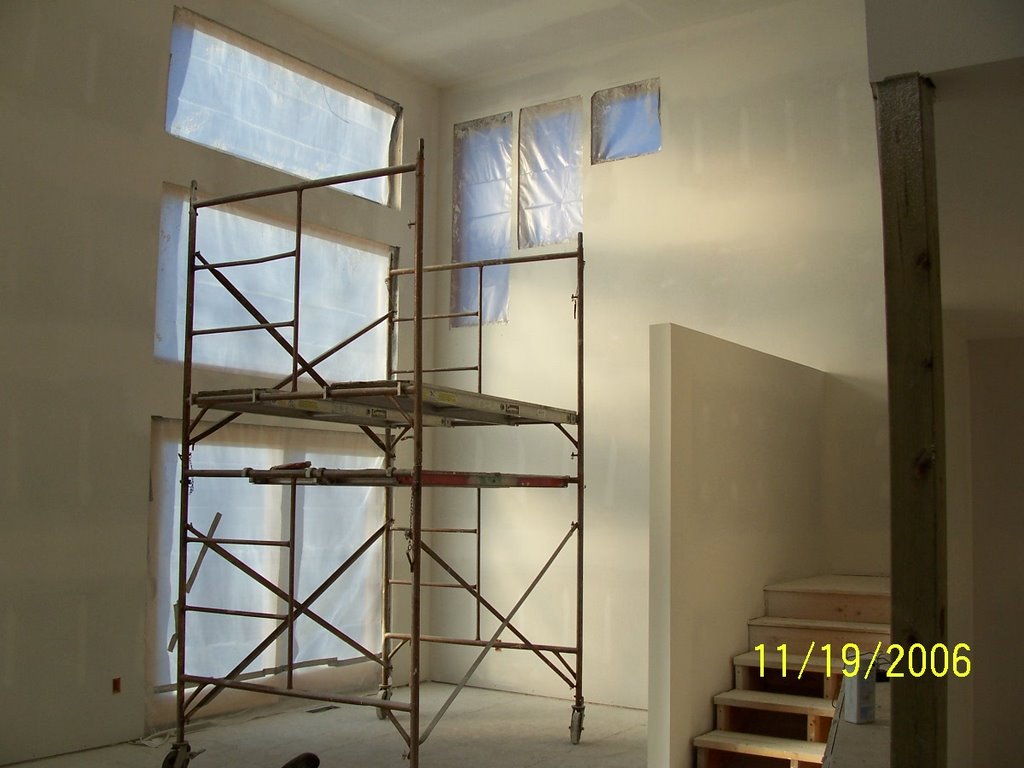
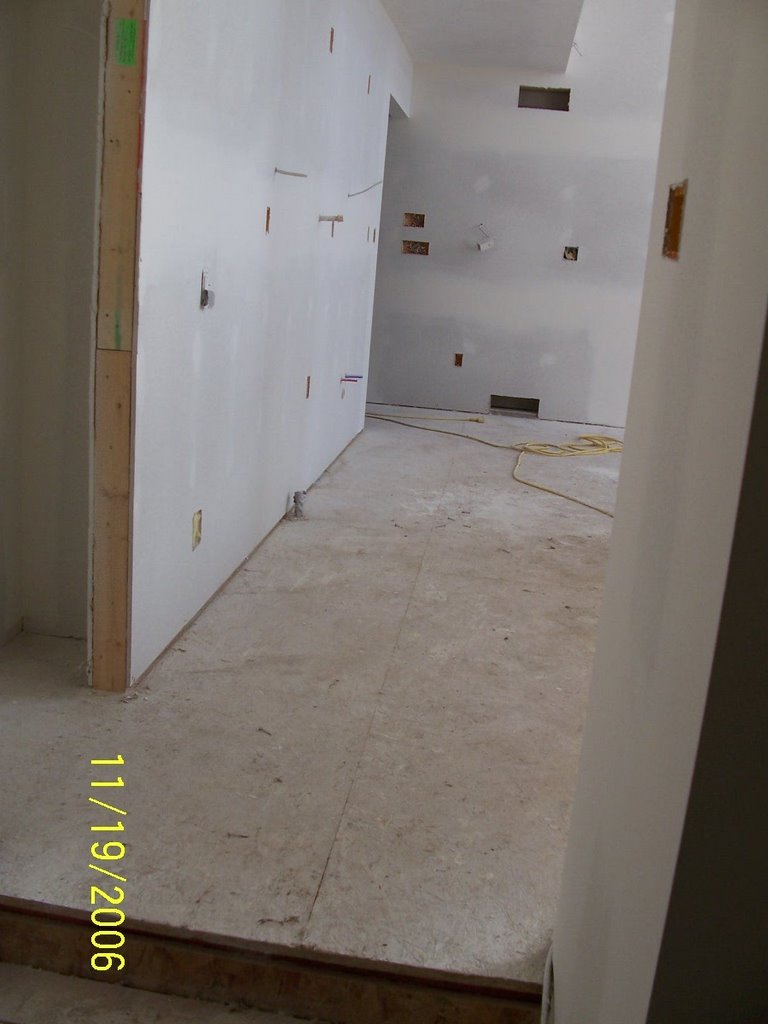
Looking the other direction, this is the view of the hall with closets on both sides and out to the sliding door at the back (lake side) of the house. As we played with layout ideas, we thought it would be best to maintain this long sight line, but still prevent a view into the bedroom when just passing by outside. Building one large closet was the other option that we decided against.


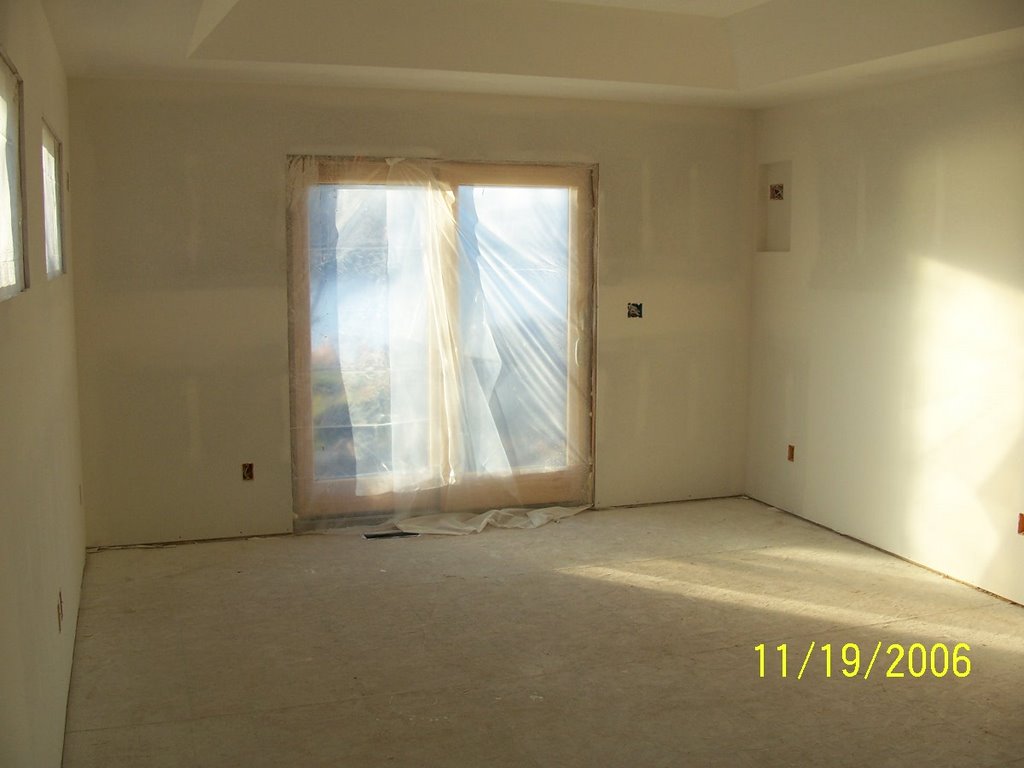
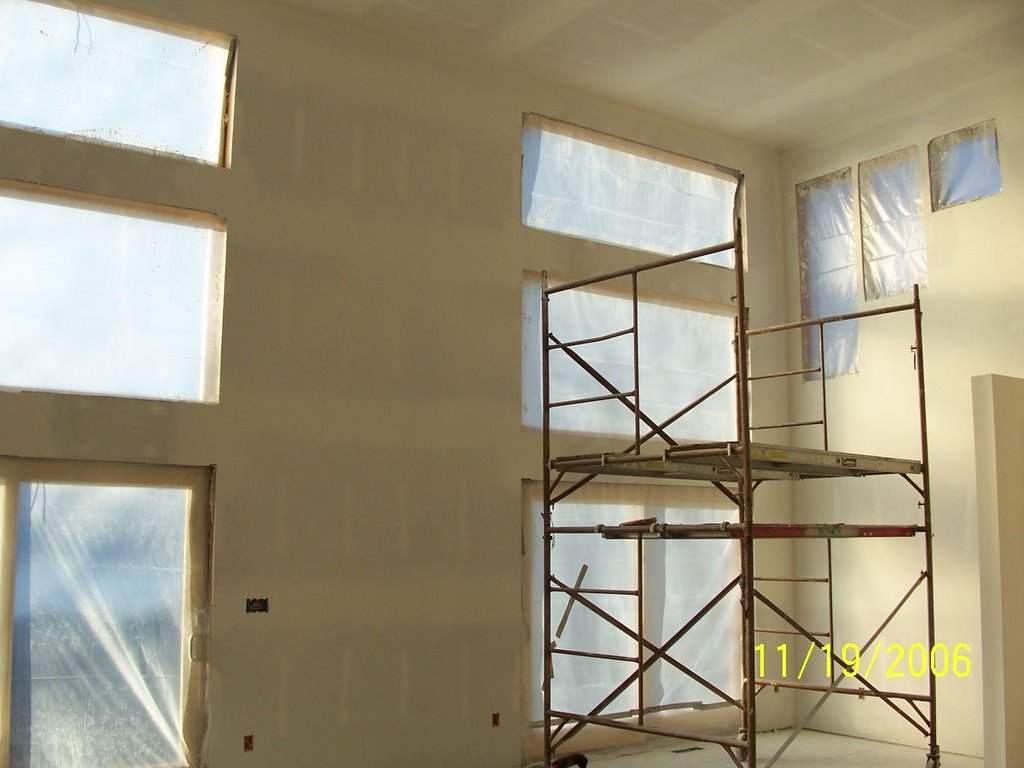
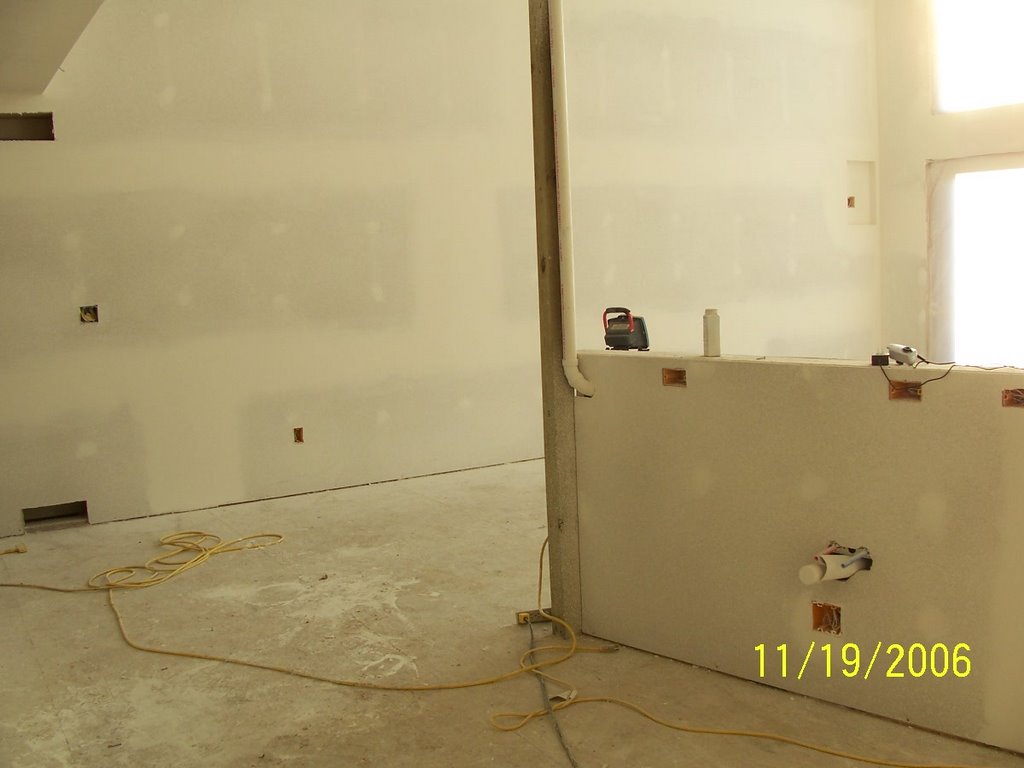
These last two pics are of the main part of the bedroom - taken from opposite corners.

Foyer, Office, and Powder Room

The front door does not open into the center of the foyer, it is offset to one side. This first picture is what you'd see when coming through the front door and looking left. You can see the 3 square windows on the left and the door that leads out into the greatroom on the right. We put a door on that end of the foyer to act as an "airlock" in the Winter. It will be a single panel, interior door with a glass panel. We just want to stop a big dump of warm air to the outside. We don't have a side door so all visitors will enter through the foyer. We plan on tiling in here so it is easy to maintain.

This is the view looking back towards the front door. The angled door to the left is the entrance to the office.


This is the view from the office out into the foyer. The doorway just to the right is the pocket door that leads into the Powder Room. If you go through our "airlock" door, there is regular door that opens into the Powder Room from the other direction.


This is a view from the office through the Powder Room.

Tuesday, November 21, 2006

A 360 View in the Great Room

The "doorway" in the lower left is the pantry mentioned in the last post. You can see the support post from before, too. The doorways in the loft are the two upstairs bedrooms. We are planning on a cable rail railing to keep the view open. In the upper right you can see the first of three pairs of the Southern facing clerestory windows.


Moving to the left from that photo; you can just make out where the stairs come up from the mudroom. You can also just see the door into the bonus room from the stair landing.


Continuing left, this area will be where we put the dining table.


We've "pre installed" a footing under the basement slab directly below the gap between the two large sliding doors. The hope someday is to put a Tulikivi there. http://www.tulikivi.com/www/homeeng.nsf/wwwframeset_lämmityslaitteet?OpenPage


Continuing left, in this picture you can see the recessed outlet for the TV. The plan is to put a flat TV on a heavy duty hinged panel. The panel will pivot the TV out and into the room (sort of towards where the picture was taken from). You can also see another pair of the cleresory windows.

Interior Shots, Mudroom and in to Kitchen

(I need to figure out if there is a cleaner way to do thes layouts. This may be hard to follow. I've done some searching on adding captions but have not found any useful info yet.)

Our primary way into the house will be from the garage into this mudroom. The door at the back of the mudroom leads out to the back yard. You can just make out the dog door to the right of the regular door. The elevated platform will hold the front loading washer and dryer. To the left of the W/D, in lieu of a regular wash tub, is a full size tub for bathing the dogs. Since this is on the same slab as the garage, we were able to include a floor drain. In retrospect, the only thing I wish we'd have done a little differently would be to provide a toe kick in front of the dog tub. We plan on putting a pad on the small ledge to kneel on, but it would have been netter to be able to belly-up. If it is enough of a hassle it will get later modified.
If you were to turn left in the previous picture, you'd be able to enter the stair area to get into the house. Those stairs lead down to the basement or upto the kitchen. This picture is what you'd see if you walked into the stair area and then turned left again to go up to the kitchen. I am sure the small shelf will quickly accumulate the discarded contents of our pockets as we enter the house. ;-)

Up the stairs as they curve right and you'd be coming up into the kitchen. The door opening on the left is the pantry and it will get a pocket door. This view will ultimately not be this "clear". You are looking "through" where the fridge will be. (The passageway at the far end of the photo is from the foyer area.) Up the stairs and a slight jog to the right will be the path into the kitchen.

And, finally for this post, this is the view from the back corner of the kitchen, out over the island and into the greatroom. The island will get a sink and a DW. The post will be wrapped with a decorative column.

Monday, November 20, 2006

Retaining Walls


These are necessary for us to get the slope of the final grade as we desire. Stacking up these blocks is not that hard (granted, someone who knows what they're doing could probably get tighter joints, but I think these are OK). I had 4 full pallets to work from, roughtly 1 ton per pallet. I used about 3.5 pallets/7000# of stone.

The hard part is not the stone, but rather the gravel that's piled behind the walls. I had some gravel "pre-piled" by the excavator behind where the wall was to go. However, I had to move about 20 wheelbarrow loads over from the main pile. The ground was sloppy-muddy so I could not take a direct route from pile to wall. That shovelling and transporting was the hardest work of this job. There just was not enough of it to warrant a skid steer rental, but boy what I would have given to have one for just 3 or 4 trips. . . .

We have matching "thin veneer" stone that will be applied to the columns.

For the record: Any variations in wall straightness or setback angle; those aren't mistakes, that's "rustic".